
Date Nut Bread Recipe : The smell of freshly baked date nut bread reminds me of my grandmother’s kitchen. She made this treat with love, filling our home with warmth. Now, I’m excited to share an easy date nut bread recipe that will make your baking experience effortless and enjoyable.
Baking might feel intimidating at first, but this date nut bread recipe simplifies the process. Whether you’re new to baking or have lots of experience, you’ll learn to create a moist and flavorful loaf. It’s certain to wow your friends and family.
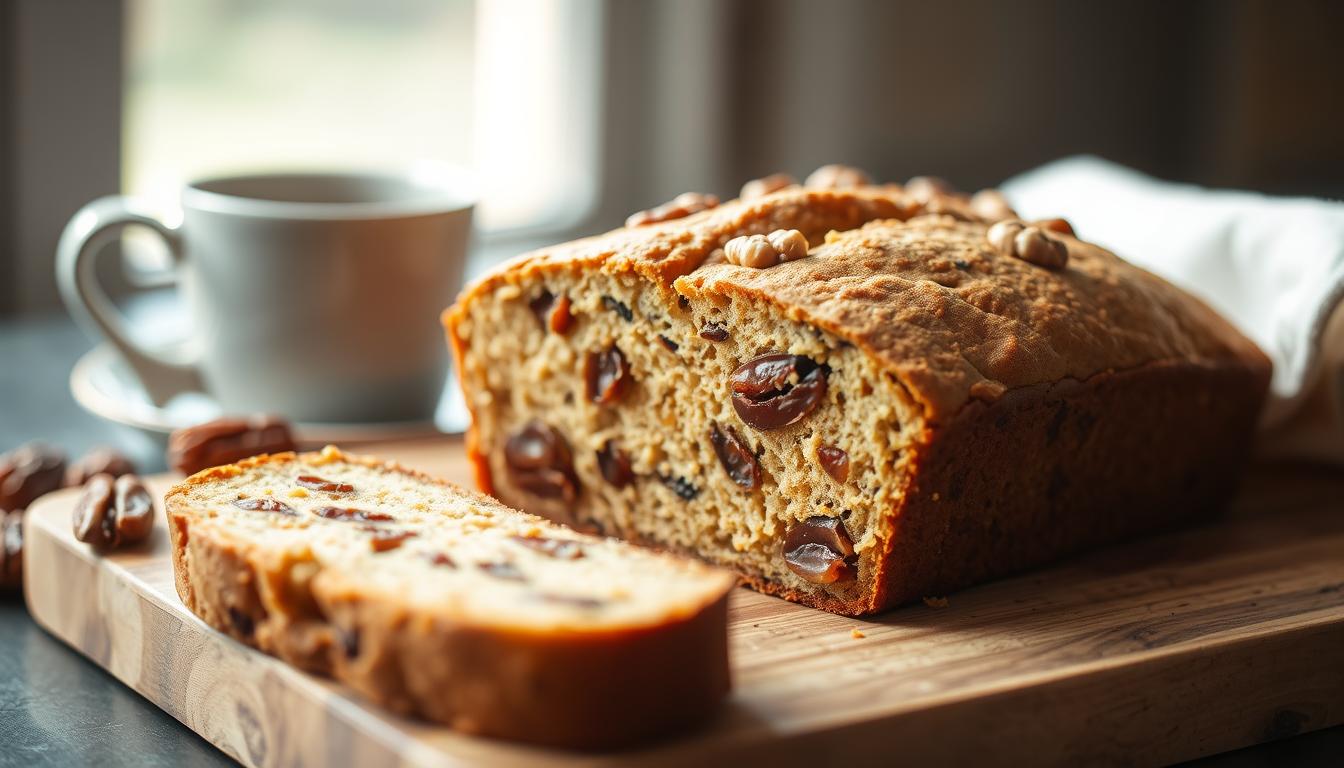
Imagine pulling a golden-brown date nut bread out of the oven. Its nutty aroma will fill your kitchen, creating a cozy atmosphere. With just a few ingredients and basic baking skills, you’ll master this classic date nut bread recipe. It’s perfect for brunch, afternoon tea, or as a sweet snack anytime.
In the next few minutes, I’ll guide you through making the best date nut bread recipe. Get ready to become the star baker in your home!
Table of Contents
What is Date Nut Bread?
Date nut bread is a tasty treat loved by many in the United States. It mixes the sweetness of dates with the crunch of nuts. This makes it a memorable dish to enjoy.
This bread is more than just a snack. It’s a flexible treat that can be savored in various ways:
- Breakfast companion with coffee
- Afternoon tea snack
- Dessert alternative
- Portable treat for picnics
A Brief History of Date Nut Bread
The history of homemade date nut bread goes back to the early 20th century. Bakers found that dates made ordinary bread sweet and moist. During the Great Depression, it became popular because it was affordable and used limited ingredients.
Why You Should Try This Recipe
Making your own date nut bread is a way to connect with home baking traditions. Each slice has about 155 calories and is full of nutrients. You can make a delicious bread that’s as good as store-bought, right in your kitchen.
Whether you’re an experienced baker or just starting, this recipe is a fun adventure. It connects you to a beloved American baking tradition.
Ingredients You’ll Need
Making a moist date nut bread needs the right ingredients. These ingredients work together to make a treat that’s both rich and satisfying. The right mix can turn a simple recipe into a special baking experience.
Essential Ingredients
To make your delicious date nut bread, you’ll need these key ingredients:
- 1½ cups all-purpose flour
- ½ cup brown sugar
- 1 cup chopped dates
- ½ cup chopped walnuts
- 2 large eggs
- ½ cup vegetable shortening
- 1 teaspoon vanilla extract
- 1 teaspoon baking powder
- ½ teaspoon baking soda
- ½ teaspoon salt
Optional Add-ins and Variations
Make your moist date nut bread even better with these creative ideas:
- Swap walnuts for pecans or almonds
- Add ½ cup chocolate chips for extra richness
- Sprinkle cinnamon or nutmeg for warm spice
- Include ¼ cup orange zest for bright flavor
- Mix in ½ cup dried cranberries for tartness
Each ingredient is important for a perfectly textured and flavorful date nut bread. Try different variations to make the recipe your own!
Preparing Your Ingredients
Making a tasty classic date nut bread begins with preparing your ingredients well. Your simple date nut bread will stand out if you focus on the details. The right steps can make your baking better and improve the taste of your bread.

Mastering Date Preparation
Dates are key to your classic date nut bread. Here’s how to prepare them right:
- Choose fresh, pitted Medjool or Deglet Noor dates
- Chop dates into small, uniform pieces
- Soak dates in 1 cup of hot water for 20 minutes
- Include 1 teaspoon of baking soda in the soaking water
- Drain excess water before adding to the batter
The Art of Chopping Nuts
Nuts add texture and flavor to your simple date nut bread. Here’s how to prepare them:
- Use a sharp knife or food processor for chopping
- Aim for consistent, medium-sized pieces
- Mix chopped nuts with 2 tablespoons of flour to prevent sinking
- Consider toasting nuts for 5-7 minutes at 350°F to enhance flavor
- Recommended nut mix: 1 cup walnuts and 1/2 cup almonds
Pro tip: Careful ingredient preparation ensures your date nut bread will have perfect texture and rich, balanced flavor in every slice.
Mixing the Batter
Making an easy date nut bread needs precision and care. Mixing the ingredients right is key to a great taste and texture. How you mix the ingredients will affect your bread’s taste.
Step-by-Step Mixing Instructions
Here are the steps to mix your date nut bread batter perfectly:
- Start by preparing your wet ingredients in a large mixing bowl
- Whisk 2 large eggs until light and fluffy
- Add 1/4 cup melted butter and 1 tsp vanilla extract
- Mix in 2 tbsp orange juice for a subtle citrus note
- Incorporate 2 cups of chopped fresh dates that have been soaked in hot water
Achieving the Perfect Consistency
The right batter consistency is crucial for a great date nut bread. Fold in your dry ingredients slowly to avoid overmixing. Overmixing can make the bread tough.
| Ingredient Category | Mixing Technique |
|---|---|
| Dry Ingredients | Sift 2 cups whole wheat flour, 1 tsp baking soda, 1/4 tsp salt, 1/2 tsp nutmeg |
| Nuts | Fold in 1 cup chopped walnuts and 1/2 cup almonds gently |
| Extra Nutrition | Sprinkle 2 tbsp chia seeds into batter |
Pro tip: Use a spatula to mix until just combined. Your batter should be thick but smooth. It should have nuts evenly spread. This way, you’ll get a moist, tasty traditional date nut bread every time.
Choosing Your Baking Pan
Choosing the right pan is key when making homemade date nut bread. The right pan can greatly affect your bread’s texture and how it bakes.

When baking your homemade date nut bread, consider these pan options for the best results:
- Standard 9×5 inch metal loaf pan
- Glass baking dish
- Ceramic loaf pan
- Mini loaf pans for individual servings
Understanding Pan Materials
Different materials in pans can change your baking experience. Metal pans heat up fast and evenly. Glass and ceramic pans heat up slower but keep warmth longer.
Pan Size and Baking Considerations
The size of your pan affects baking time and texture. A standard 9×5 inch pan is usually best. But, smaller pans might need shorter baking times.
| Pan Type | Baking Time | Recommended Temperature |
|---|---|---|
| 9×5 inch metal pan | 60-70 minutes | 325°F (160°C) |
| Mini loaf pans | 35-45 minutes | 325°F (160°C) |
| Ceramic loaf pan | 65-75 minutes | 325°F (160°C) |
Pro tip: Always use a toothpick or cake tester to check if your bread is done. Stick it into the center. If it emerges clean, your bread is done!
Baking Your Date Nut Bread
Baking the perfect date nut bread requires precision and care, as the process transforms your ingredients into a moist and delicious treat that will delight your taste buds.
Perfecting Your Oven Temperature
For the best results, set your oven to 350°F (180°C). This temperature helps create a golden crust and a tender inside. It also lets your bread rise well and get rich flavors.
Mastering Baking Time and Doneness
Baking times can vary. But here are some guidelines for the perfect loaf:
- Standard loaf: 45-50 minutes
- Mini loaves: 35-40 minutes
- Check for doneness using the toothpick method
To check if your bread is done, try the toothpick test. If the toothpick comes out clean or with just a few moist crumbs, your bread is ready to be taken out of the oven.Don’t overbake, as it can dry out the bread.
Preventing Common Baking Challenges
Watch for these signs during baking:
- If the top is browning too fast, cover it with aluminum foil
- Rotate the pan halfway through baking for even cooking
- Allow the bread to cool in the pan for 10 minutes before taking it out.
Your patience during baking will pay off. You’ll get a moist date nut bread that will impress everyone.
Cooling and Storing
After baking your simple date nut bread, it’s important to cool and store it right. This keeps the bread moist and tasty for days or weeks. The right methods can make a big difference.
How to Properly Cool Your Bread
Cooling your classic date nut bread needs patience and the right steps. Here’s how to get it just right:
- Take the bread out of the oven and let it rest in the pan for 10 to 15 minutes
- Use a wire rack to complete the cooling process
- Gently transfer the bread from the pan to prevent breaking
- Let the bread cool entirely before cutting it into slices

Best Practices for Storing Leftovers
Proper storage keeps your simple date nut bread fresh. Here are some tips:
- store an airtight container at room temperature
- Keep bread fresh for 2-3 days
- Wrap securely in aluminum foil or plastic wrap
- For longer storage, freeze the entire loaf or individual slices
Freezing your date nut bread? First wrap it in plastic wrap, then cover it with foil. It can be stored in the freezer for up to a month. Simply thaw it at room temperature when you’re ready to enjoy it.
Serving Suggestions
Your classic date nut bread recipe is ideal for a variety of serving suggestions. It can go from a simple snack to a stunning dessert with a few creative touches.
Delicious Pairings for Date Nut Bread
A delicious date nut bread needs amazing sides. Here are some tasty pairings to make your bread stand out:
- Cream cheese spread (using 4 ounces of cream cheese and 1/2 cup soft butter)
- Almond butter for a nutty complement
- Warm honey drizzle
- Orange marmalade
- Softened butter with a hint of sea salt
Creative Ways to Enjoy It
Your date nut bread is not just a snack. Try these fun ways to serve it:
- Create French toast by dipping thick slices in egg mixture
- Craft gourmet grilled sandwiches with cream cheese
- Cube bread for a unique trifle dessert
- Use as a base for bread pudding
- Slice thinly for elegant tea-time finger sandwiches
Pro tip: Each loaf makes about 20-24 finger slices, great for parties or sharing. It remains fresh at room temperature for 2 to 3 days. Alternatively, you can refrigerate it for up to 5 days, allowing you to savor it throughout the week.
Dietary Considerations
Creating the best date nut bread recipe is about making it accessible for everyone. It doesn’t matter if you’re gluten-sensitive or have nut allergies. You can still make a tasty homemade date nut bread with a few tweaks.

Your favorite homemade date nut bread can be made for different diets. Let’s look at some easy swaps to make a treat that everyone can love.
Gluten-Free Alternatives
For those who can’t have gluten, making your date nut bread gluten-free is easy. Here’s how:
- Use a cup-for-cup gluten-free flour blend
- Replace whole-wheat pastry flour with gluten-free alternatives
- Maintain the same measurement ratios as the original recipe
Nut-Free Options
Nut allergies don’t mean you can’t enjoy great bread. Try these creative swaps:
- Replace walnuts or pecans with sunflower seeds
- Opt for pumpkin seeds to achieve a comparable crunchy texture
- Add extra dried fruits for depth of flavor
With these simple changes, you can make a date nut bread that suits many diets. It will still taste amazing and feel great in your mouth.
Troubleshooting Common Issues
Baking the perfect easy date nut bread can be tricky. Even skilled bakers face problems that can mess up the texture and taste. Knowing how to fix these issues will help you make a tasty loaf every time.
Getting the right consistency in your date nut bread is all about paying attention to a few things. Overmixing is a big problem that makes bread dense and heavy. When you mix too much, you create too much gluten, which makes the bread tough.
Solving Dense Bread Challenges
- Measure flour accurately (120 grams per cup)
- Mix ingredients until just combined
- Avoid overworking the batter
- Use fresh baking powder (replace every 6-12 months)
Preventing Burning and Undercooking
Keeping the temperature right is key for perfect moist date nut bread. If your bread gets too brown too fast, try these tips:
- Tent the bread with aluminum foil during the last 10 minutes of baking
- Check oven temperature with an accurate thermometer
- Place the bread on the center rack for even heat distribution
- Use an 8.5 x 4.5-inch or 9 x 5-inch loaf pan for optimal results
Baking is both science and art. Don’t be concerned if your first attempt isn’t flawless. Every time you bake, you learn something new about making the best easy date nut bread.
Frequently Asked Questions
Baking simple date nut bread can raise many questions. Whether it’s your first time or you’re trying to get better, we’ve got answers. They’ll help you succeed in the kitchen.
Many ask about storing their bread. It can be stored at room temperature for up to 3 days. Wrap it tightly in plastic wrap or use an airtight container. Freezing is also great – it stays tasty for up to a month if wrapped right.
First-timers often ask about swapping ingredients. This recipe is flexible. You can use pecans instead of walnuts, try different dates, or gluten-free flour. Just keep the basic ratios to get the right texture and rise.
For beginners, check your bread at 45 minutes of baking. Perform the toothpick test – if it comes out clean, your bread is done. Remember, baking is both science and art. So, don’t be shy to practice and make it your own!